All levels
|
23 min 36 sec
|
00:54
|
|
01:39
|
|
05:25
|
|
04:59
|
|
06:35
|
|
04:04
|
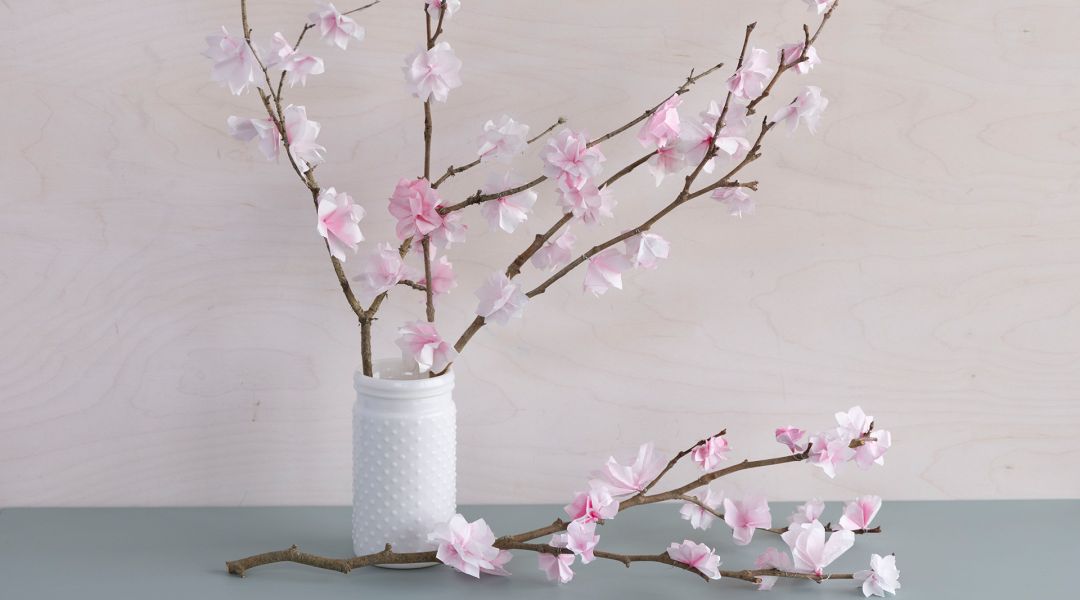
Cherry blossom season is fast and fleeting; the peak bloom period, when the blossoms are open, lasts only a few days. Capture that springtime wonder by making ever-blooming paper cherry blossoms with Mia Semingson. Mia is an artist, book binder, and owner of Two Hands Paperie in Boulder Colorado. In this class she teaches you how to use basic origami folds, simple cutting techniques, and a fun dip dye process to transform paper into beautiful flowers. How each one turns out is a mystery until you unfold them, and the surprise is part of the magic. You can use your cherry blossoms to adorn the tops of gifts and Mia also shows you how to attach them to a branch for a beautiful decor piece.
Learn how to:
Here’s what you’ll need:
- Absorbent paper such as Japanese Washi Paper - Mia uses Sumi-E Painting & Calligraphy Paper and you can also use white basket style coffee filters
- Three bowls of pink ink or dye - Mia uses FW acrylic ink in Process Magenta diluted into various shades with water
- One bowl of water
- Scissors
- Wire cutter
- Thin wire - Mia uses 30 gauge
- Bone folder or spoon
- Sturdy needle
- Iron
- Spray bottle
- Protractor
- Pencil
- Two tea towels for ironing
- Two branches
Downloads:
- Make dip dyed paper cherry blossoms
- Use basic origami folds on both Japanese washi paper and basket-style coffee filters
- Cut folded paper into blossom shapes
- Dip dye paper in various shades of dye
- Experiment with different dye patterns
- Wire paper petals into blossoms
- Attach paper blossoms to a branch


Member Gallery
Browse members' projects from this class and share your own work! Learn how to take great photos here.
Load More
Transcript
Class PDF
Make a Paper Cherry Blossom Branch Reviews
123 users recommended this class to a friend
Roseli Martin
Love Cherry Blossoms. Will give this one a try for my daughters room.
More than 3 months ago
Revathi Sampath
Love the class! I would be good if the teacher suggests alternate paper for this project!
More than 3 months ago


