
Intermediate
|
31 min 50 sec
|
00:29
|
|
01:34
|
|
03:54
|
|
10:19
|
|
15:34
|

Taught by Faith Hale
Start Free Trial or
Buy For $19.95
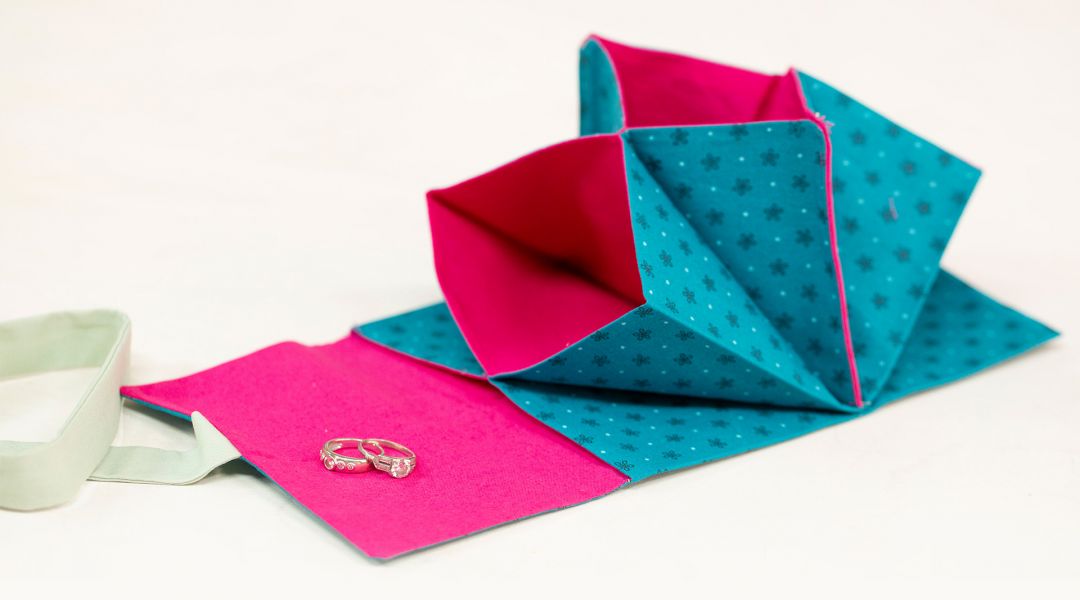
A handy little pouch that's cleverly constructed and useful to boot? Yes please! In this Creativebug class, you’ll learn how to draft your very own vintage-inspired accordion pouch from scratch, then sew it together step by step. With its layered compartments and compact design, this project is as functional as it is fun to make. The finished pouch is perfect for travel, or for keeping your favorite jewelry, sewing notions, or tiny treasures organized at home. Get ready to stitch up something both charming and practical!
Learn how to:
Here’s what you’ll need:
- One piece of lightweight but sturdy fabric cut to 2 1/2" x 18" for the tie
- Two pieces cut to 30 1/2" x 12 1/2" for the outside and lining of the pouch
- Fabric marking pen
- Scissors
- Rotary cutter and cutting mat
- Pins
- Quilting ruler (long one is necessary, square 12 1/2" is nice to have)
- One yard of acrylic yarn
- A pokey tool like a pencil or point turner for pushing out corners
- Sewing machine and coordinating thread
- Iron and ironing surface
Downloads:
- Draft an accordion pouch
- Asssemble the pouch
- Use yarn to turn a narrow piece inside-out


Member Gallery
Browse members' projects from this class and share your own work! Learn how to take great photos here.
Load More
Transcript
Class PDF
Sew An Accordion Travel Pouch Reviews
94 users recommended this class to a friend

Ruth L
I made three pouches that will be a thank you gift for a few friends. The instructions were clear and easy to follow. I totally understood Faith's excitement in the last segment of the video when she started sewing the pockets! I loved how it all came together at the end. Thanks!
More than 3 months ago
Lynn C
This is such a great project, I plan on making one for may daughter to pass on some family jewellery.
More than 3 months ago

Traci Lietzke
really good and simple instructions. Love Faith as a presenter.
More than 3 months ago
Related Classes