All levels
|
48 min 36 sec
|
01:31
|
|
02:36
|
|
08:43
|
|
07:37
|
|
08:35
|
|
04:48
|
|
05:02
|
|
09:44
|
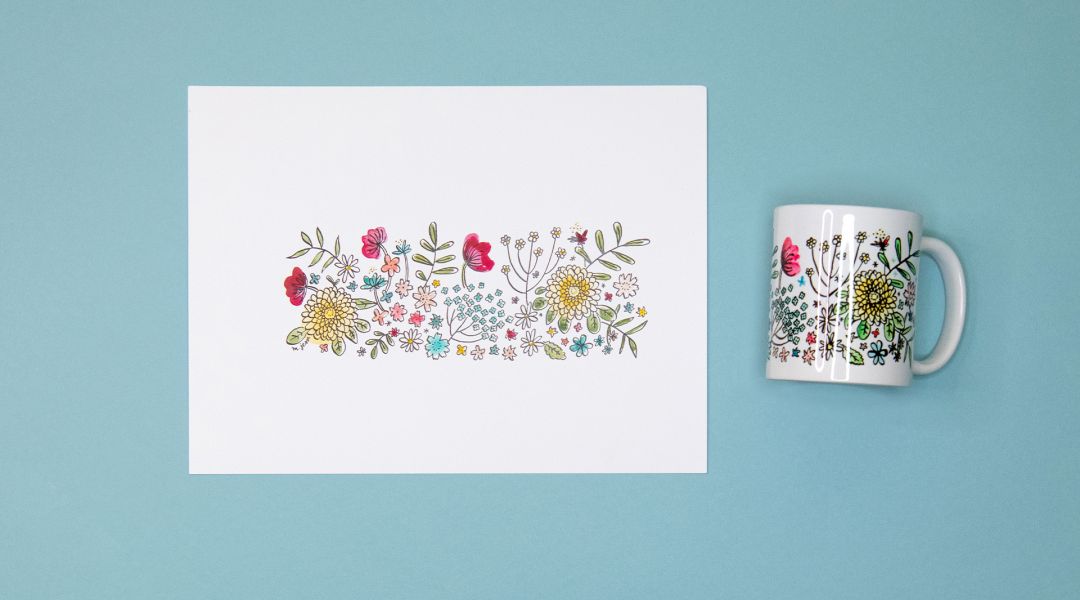
Being a professional illustrator is a collaborative process: you must consider the needs of your client, know how to communicate your thoughts and ideas, and be prepared for many changes, all while maintaining your own artistic style. Mariko Jesse has been an illustrator and printmaker for over 25 years. In this class, she takes you through a sample project with an imaginary client from sketch to final product so that you can see the process step by step. She shows you what a client brief can look like as well as the ideation process, receiving client feedback, and completing the art. Whether you work with analog mediums or digital, the communication and business aspects remain the same. There’s isn’t one correct way to be an illustrator, but once you understand the basics, you can work out for yourself how to develop your practice.
Learn how to:
Here’s what you’ll need:
- A sketchbook such as Moleskine Cahier Journal soft cover - pack of 3, 7.5" x 9.5", or Midori Notebook MD Notebook, Light
- Pens - Mariko uses Signo Uni-Ball DX (0.28), Stabilo point 88 fine 0.4, and a brush pen (thin line)
- Lead pencils - Mariko uses a 2B mechanical pencil (Pentel P209 / Pentel TUFF 05./0.9) and lead pencils (Tombow mono in 2B/4B/6B )
- Colored Pencils - Mariko often buys single pencils when she travels and mixes and matches brands. She likes Holbein artist's colored pencil, Faber-Datsel Polychromo, and Caran D'ache watercolor pencils
- Watercolor paints - Mariko has 2 small Windsor & Newton travel palettes that she refills with paints from Windsor & Newton or Case for Making
- A selection of brushes from the following brands: Holbein, Van Gogh, Royal Talens, Skyists series 118, Artrend series 11-2
- Windsor & Newton black ink
- Dip pen
- Eraser
- Small scissors for paper
- Plain masking tape
- Glue sticks (Pritt Stick, Coccoina, or Yamato rice paste)
- Tracing paper (Canson)
- Bristol board (Strathrmor/Canson)
- Watercolor paper (Strathmore cold press)
- Computer, Scanner, and/or Wacom tablet (optional)
- Lightbox (optional)
Downloads:
- Work with an art director or client on an illustration project
- Understand a client brief
- Create initial sketches and progress to final, painted artwork
- Work with pen, ink, and watercolor
- Maintain your own style while fulfilling the needs of the client


Member Gallery
Browse members' projects from this class and share your own work! Learn how to take great photos here.
Load More
Transcript
Class PDF
Professional Illustration 101 Reviews
145 users recommended this class to a friend
Amber Art
This is a wonderful class on starting from blank page to finished project with a client. Sharing the steps with a small project gave a nice overview. I appreciated the last story with a tough client who was vague and kept giving new instructions with every change. I genuinely would feel frustration if I was given new goalposts with each change I submitted. I would love to be nosy and ask, if there are multiple changes to a piece of work, do you charge extra? It is a lot of work and time spent with every change made. Overall, this is an excellent video and I recommend it.
December 20, 2025
Karin
Really enjoyed this class! Also, would love some guidance on how to use scanner or choose one.
More than 3 months ago
1


