
Beginner
|
1 hour 8 min
|
01:05
|
|
02:00
|
|
12:48
|
|
06:47
|
|
09:18
|
|
08:11
|
|
02:18
|
|
05:47
|
|
06:43
|
|
10:03
|
|
03:51
|

Taught by Nikki Furlong
This class will be available to view on June 18, 2025.
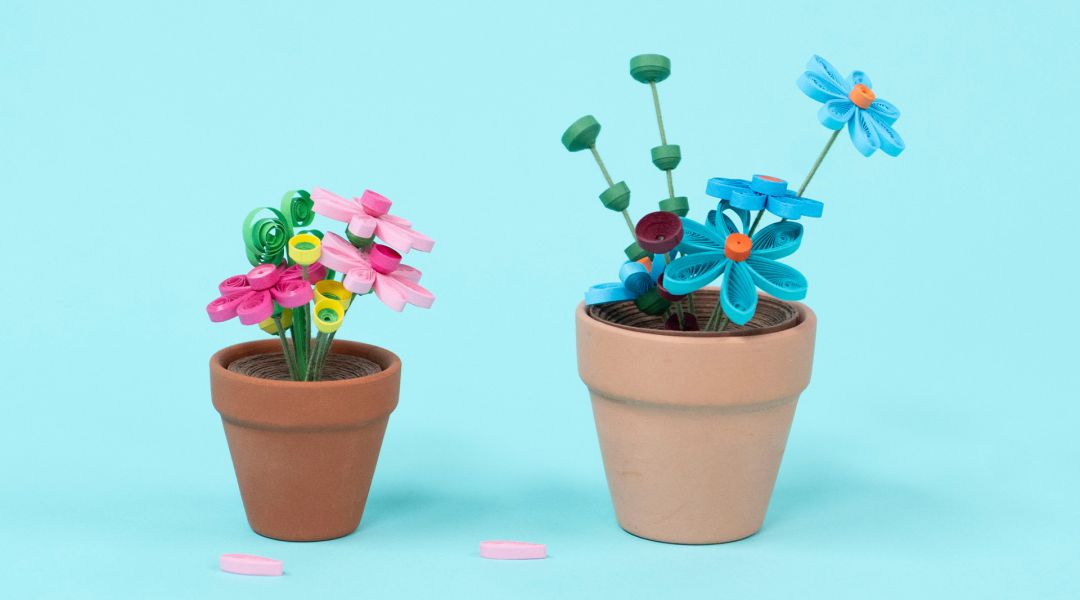
Nikki Furlong of Simply Quilled Designs lives in the Pacific Northwest and is inspired by nature and all its colors and textures. She brings this inspiration to the art of paper quilling. Paper quilling is a traditional and little-known art form. She takes long thin paper strips, coils them tightly, and then bends and shapes the coiils into intricate designs. In this class, Nikki will teach you how to paper quill a mini pot of flowers. You'll learn how to use a quilling tool and transform paper strips into tiny circles, cups, teardrops, petals, and scrolls. Then you’ll assemble these paper shapes into a tiny, charming bouquet with touches of paper greenery. Even the soil is paper! You have the option of placing your potted flowers under a glass dome for protection, and Nikki will also show you how to make a wire clip to add a photo or note. This project is easy to personalize for the perfect gift, and you'll have a lot of fun playing with paper shapes and colors to create your own flowers and arrangements.
Learn how to:
Nikki Furlong of Simply Quilled Designs lives in the Pacific Northwest and is inspired by nature and all its colors and textures. She brings this inspiration to the art of paper quilling. Paper quilling is a traditional and little-known art form. She takes long thin paper strips, coils them tightly, and then bends and shapes the coiils into intricate designs. In this class, Nikki will teach you how to paper quill a mini pot of flowers. You'll learn how to use a quilling tool and transform paper strips into tiny circles, cups, teardrops, petals, and scrolls. Then you’ll assemble these paper shapes into a tiny, charming bouquet with touches of paper greenery. Even the soil is paper! You have the option of placing your potted flowers under a glass dome for protection, and Nikki will also show you how to make a wire clip to add a photo or note. This project is easy to personalize for the perfect gift, and you'll have a lot of fun playing with paper shapes and colors to create your own flowers and arrangements.
Here’s what you’ll need:
- Ruler
- Circle template
- Cutting mat and craft knife
- 2 packages 1/8” x 20” quilling paper in pinks and green
- Scissors
- Tweezers
- Foil for glue
- Quilling tool
- Fabric covered floral wire
- Fine-tip glue tool or tooth pick
- Elmer’s clear glue
- Scotch repair glue
- Terra cotta pot under 2”
- Baby wipes or paper towel
- Foam ball (optional)
- Thimble (optional
Downloads:
- Paper quill a mini pot of flowers
- Use a quilling tool
- Quill circles and form them into cups, teardrops, and petal shapes
- Quill open scrolls
- Glue tiny strips of paper
- Combine quilled shapes to make flowers and greenery
- Arrange your flower pot
- Make an optional photo/note clip with floral wire


Member Gallery
Browse members' projects from this class and share your own work! Learn how to take great photos here.
Load More
Paper Quill Mini Potted Flowers Reviews
1 users recommended this class to a friend
Related Classes