
All levels
|
34 min 31 sec
|
00:56
|
|
01:58
|
|
06:59
|
|
08:56
|
|
07:57
|
|
07:45
|

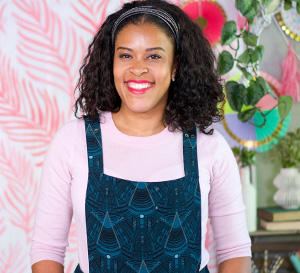
Taught by Cindy Willingham
This class will be available to view on May 07, 2025.
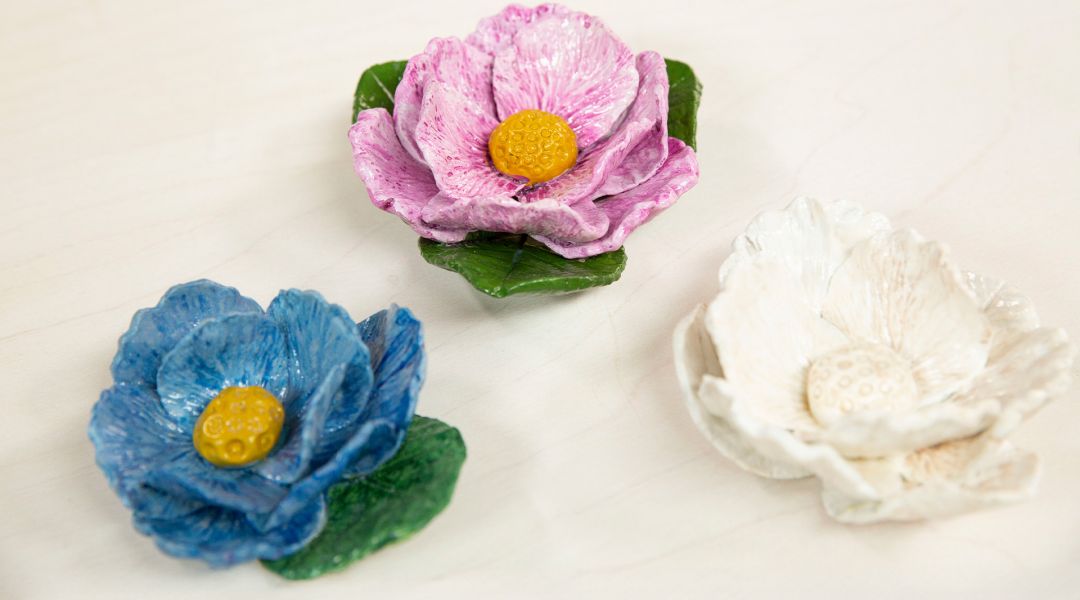
Cindy Willingham is a painter, potter, and everything in between. Her work is often inspired by nature, and when she used to spend six months of winter living in Maine, she would always dream of flowers. Join Cindy as she teaches you how to create beautifully textured peonies with air-dry clay. Air-dry clay shares many similarities with kiln-fired clay, and all the hand-building you'll learn in this class applies to both. Cindy demonstrates how to condition air-dry clay, form a slab - which is the foundation of many clay projects - and sculpt a flower using unexpected but accessible household tools. You'll then learn how to paint the clay with a dreamy watercolor-inspired technique and seal it to protect your work. No kiln is needed with air-dry clay, just patience and time for your clay flower garden to grow.
Learn how to:
Cindy Willingham is a painter, potter, and everything in between. Her work is often inspired by nature, and when she used to spend six months of winter living in Maine, she would always dream of flowers. Join Cindy as she teaches you how to create beautifully textured peonies with air-dry clay. Air-dry clay shares many similarities with kiln-fired clay, and all the hand-building you'll learn in this class applies to both. Cindy demonstrates how to condition air-dry clay, form a slab - which is the foundation of many clay projects - and sculpt a flower using unexpected but accessible household tools. You'll then learn how to paint the clay with a dreamy watercolor-inspired technique and seal it to protect your work. No kiln is needed with air-dry clay, just patience and time for your clay flower garden to grow.
Here’s what you’ll need:
- Air-dry clay (not Crayola or clay with a fluffy texture - Cindy uses Trinity Ceramic Air Dry Clay)
- Porous work surface such as wood, cork, fabric, or slab mat
- Small bowl of water
- Fondant/gum paste molds with cutters in flower and leaf shapes
- Cornstarch and sock for application
- Shallow sauce bowl
- Rolling pin and guides for rolling - Cindy uses two wooden stir sticks taped together
- Paper towel
- Acrylic paint - two shades for petals, two shades for leaves, and two shades for flower center
- Acrylic varnish/sealer like Maker's Magic
- Plastic wrap
- Pen
- Scoring tool
- Pottery rib
- Bench scraper
Note: this project may be done with kiln firing clay and glaze, but air dry clay and kiln firing clay must not cross contanimate. differences are clay and glaze instead of paint
Downloads:
- Make a peony with air dry clay
- Form a slab
- Mold and cut petals and leaves
- Assemble a clay flower
- Seal and paint air dry clay with a watercolor-inspired wash technique


Member Gallery
Browse members' projects from this class and share your own work! Learn how to take great photos here.
Load More
Make a Peony with Air-Dry Clay Reviews
1 users recommended this class to a friend
Related Classes