
All levels
|
1 hour 24 min
|
01:22
|
|
02:21
|
|
02:29
|
|
08:11
|
|
08:32
|
|
14:59
|
|
10:18
|
|
15:05
|
|
08:28
|
|
12:32
|

Taught by Corrie Beth Hogg
Start Free Trial or
Buy For $29.95
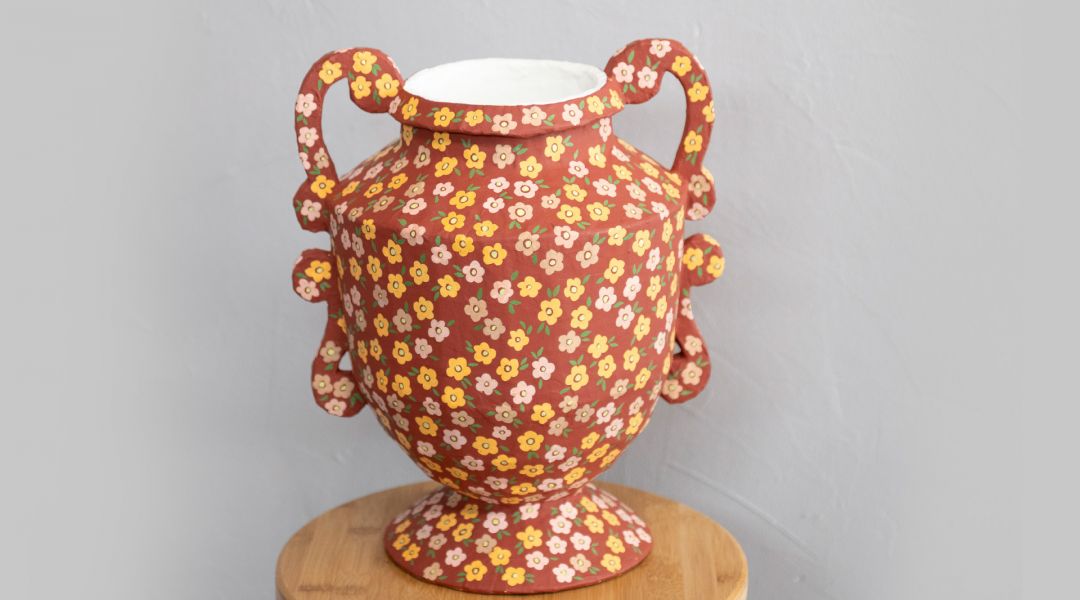
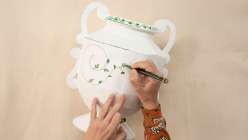
Elevate the art of paper maché with Corrie Beth Hogg, multi-media maker and Brooklyn-based author. In this class, Corrie demonstrates how to make an impressive paper maché vase inspired by ornamented Italian earthenware from the 16th century. The most amazing thing about working with paper maché is its accessibility - all you really need is cardboard, masking tape, newspaper, and glue. Corrie has designed and provided a template that turns a flat piece of cardboard into a three-dimensional vessel, allowing for a glass cylinder insert if you wish to use it for fresh flowers. Learn how to build the vase form piece by piece, then add paper maché. Finish by exploring several decorating options to make your vase truly your own and be amazed by what you're able to create with paper.
Learn how to:
Here’s what you’ll need:
- PDF templates and printer
- Ruler
- Masking tape and Scotch tape
- Scissors
- Craft knife or x-acto knife and cutting mat
- Pencil
- Cardboard - approximately 19" x 37" rectangle
- Newspaper
- Paper mâché paste of your choice - Corrie likes Titebond 3 wood glue with a splash of water
- Elmer's glue, primer or gesso
- Sandpaper (60-80 grit)
- Acrylic paint and paintbrushes or paint markers
- Hot glue gun and glue sticks
- Gloves
- Sealant of your choice like mod podge or Golden matte acrylic spray varnish
- Glass jar or cylinder insert
- Popsicle stick or other stick for stirring
- Painters pyramids
Downloads:
- Make a paper mache vase
- Cut and score cardboard
- Construct a curved 3D form out of cardboard
- Prepare paper strips and paper maché paste
- Prime and paint a design onto your vase


Member Gallery
Browse members' projects from this class and share your own work! Learn how to take great photos here.
Load More
Transcript
Class PDF
Make a Paper Maché Vase Reviews
86 users recommended this class to a friend

Barb Jensen
Absolutely amazing. No one would believe you made it yourself!
More than 3 months ago
Frances Young
I love that the Corrie gave the reason for the steps she was taking so i really felt like I was learning things and not just seeing a simple how to.
More than 3 months ago

Renee Bliss
Long term papier mache artist here. Love this project, thank you! I use a different paper type for the 2nd layer. I've found that thin brown painter's paper works well and reduces bumps. I also use a small paint roller to apply the glue directly to the project, then apply a dry strip to the wet area and then apply the glue over the stuck on paper, again with the roller, to seal the top. This saves the messy and laborious dipping and squeezing step. It speeds things up significantly! Love you project and the way you've painted it!
More than 3 months ago
5
Related Classes