
Intermediate
|
33 min 13 sec
|
00:35
|
|
04:45
|
|
09:44
|
|
06:12
|
|
05:10
|
|
06:47
|

Taught by Jody Alexander
Start Free Trial or
Buy For $19.95
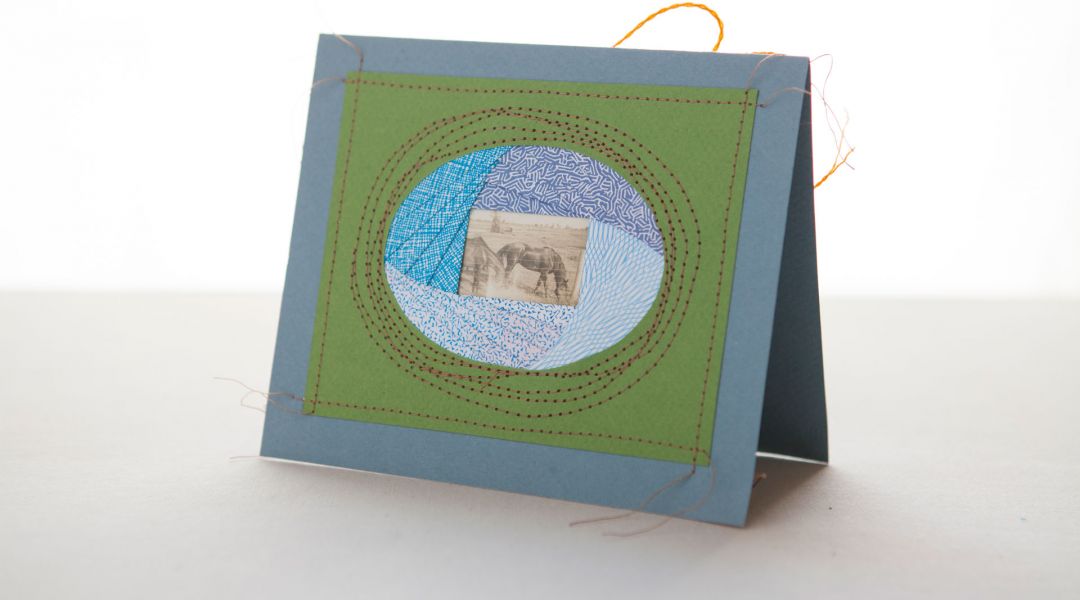
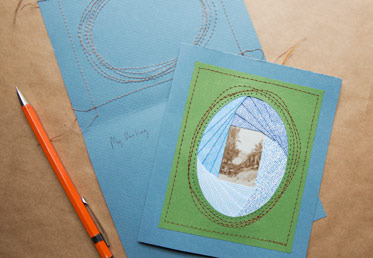
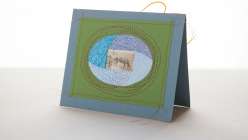
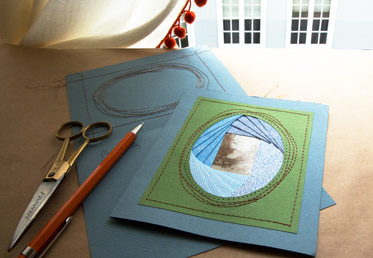
This traditional paper crafting technique originated in Holland and makes a striking frame for any image or photograph. Strips of folded paper (traditionally the insides of security envelopes) create a spiral design that resembles the iris of an eye or camera. Learn to make an Iris Fold frame for a greeting card and then let your creativity take over with the possibilities!
Learn how to:
What you’ll get:
Here’s what you’ll need:
Tools:
- X-acto knife
- bone folder
- cutting mat to protect your surface
- security envelopes or other similar weight paper
- 6 x 10 card stock paper for card
- 4 x 5 card stock paper for iris fold frame
- tape
- glue stick or PVA
- thread
- carbon paper
- sandpaper
Downloads:
- Iris fold
- How to configure iris opening
- Cutting frame opening
- Adding sewn embellishments to paper
What you’ll get:
- An easy-to-follow lesson on create this traditional folding technique
- 5 HD video lessons you can access online anytime, anywhere
- Detailed supply list
- Downloadable PDF pattern included
- Step-by-step expert instruction by artist Courtney Cerruti
- The ability to leave comments, ask questions and interact with other students
Member Gallery
Browse members' projects from this class and share your own work! Learn how to take great photos here.
Load More
Transcript
Class PDF
Iris Fold Card Reviews
239 users recommended this class to a friend

Kavitha Sridas
Thank you for extending on the Iris folding ideas on a card!
May 25, 2026
Patron of Johnson County Public Library
So inspired. Looking forward to discovering all the textures I can find in used security envelopes.
More than 3 months ago
Barbara Cass
Such a unique technique that results in an appealing design. The instructions by Jody were very clear and really appreciated.
More than 3 months ago
Related Classes