
All levels
|
12 min 23 sec
|
12:23
|

Taught by Faith Hale
Start Free Trial or
Buy For $9.95
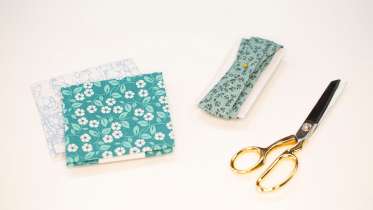
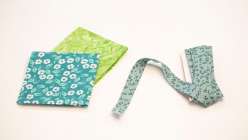
Turn that fat quarter of fabric into custom bias tape for your next sewing project. Resident sewist, Faith Hale walks you through how to make your bias a continuous roll and how to store for future use. Bust your fabric stash or make something useful from those precious small pieces of fabric. This technique is perfect for begining sewists and quilters as well as longtime quilters who want to make their own custom bias tape.
Learn how to:
Here’s what you’ll need:
- Fat quarter of fabric such as a quilting cotton
- Marking tool that doesn't erase with heat
- Rotary cutter and mat
- Sewing machine
- Cardboard cut to 5" long x 2.5" wide to store bias tape
- Pins
- Bias tape maker (Faith is using 1" wide)
- Iron and ironing surface
- Quilting ruler
Downloads:
- Make bias tape from a fat quarter of fabric
- How to cut a bias cut
- How to sew bias tape together to make a continuous roll
- How to store bias tape

Member Gallery
Browse members' projects from this class and share your own work! Learn how to take great photos here.
Load More
Transcript
Class PDF
How to Make Continuous Bias Tape Reviews
72 users recommended this class to a friend

Camille Bains
Doesn't explain the tube part well and gives incorrect instructions. "We're going to line up our cutting lines." NO! They're not lined up. Has moved over the fabric one width from the first column but doesn't say to do that.
July 7, 2026
Annameika Lee
Everything you need to know about how to make your own customized continuous bias tape.
June 21, 2026
Tammy Morgan
I'm a beginning sewist and found this very clear and easy to follow. Thank you!
May 20, 2026
Related Classes