
All levels
|
37 min 52 sec
|
00:27
|
|
02:10
|
|
01:50
|
|
06:57
|
|
08:22
|
|
03:51
|
|
06:00
|
|
08:15
|

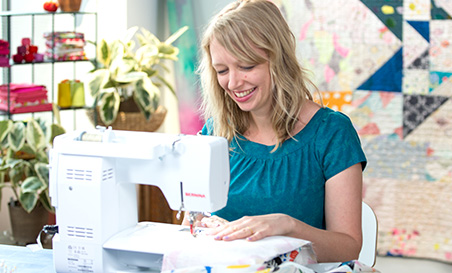
Taught by Rebecca Ringquist
Start Free Trial or
Buy For $19.95
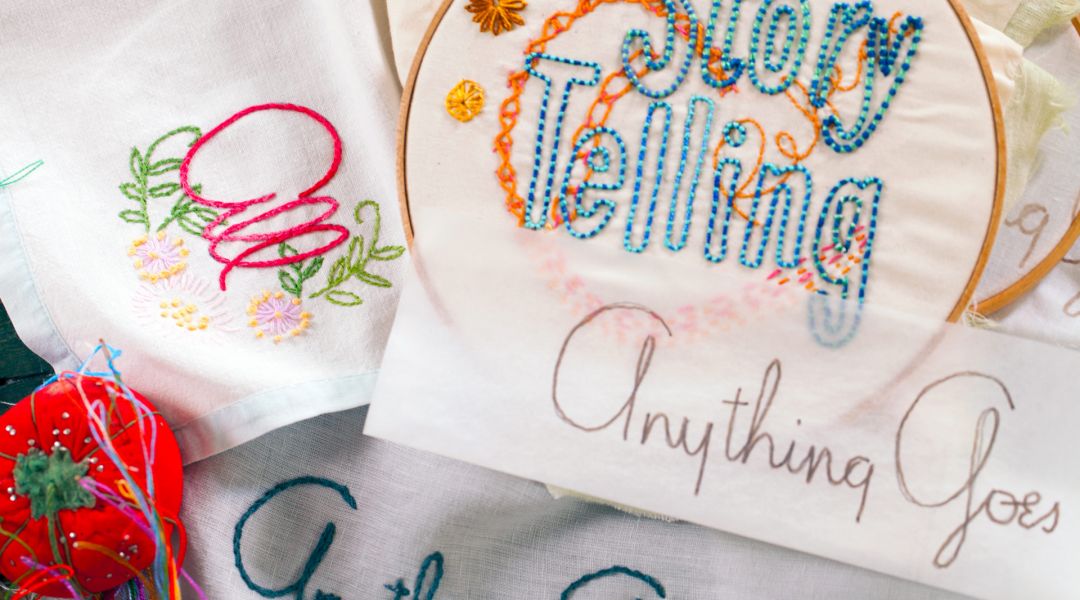
Once you have a grasp of basic stitches, you can start designing in embroidery. Rebecca will show you how to turn found images into embroidery, as well as suggesting places to go looking for interesting text styles and motifs. Learn how to add vintage images, repeat patterns, layers and texture to your embroidery projects.
Learn how to:
What you’ll get:
Here’s what you’ll need:
Materials:
- Images to transfer
- Tracing paper
- Masking tape
- Embroidery hoop
- Paper and embroidery scissors
- Permanent marker
- Pencil
- Embroidery and tapestry needles
- Beeswax for threading needles
- Perle cotton or embroidery thread
- Fabric or found embroidery
- Water soluble stabilizer, such as Sulky Solvy
- Iron-on transfer pen
Downloads:
- Selecting a design
- Preparing design for transfer
- Transferring a design
- Working with Sulky Solvy
- Embroidering with backstitch, couching, and split stitch
- Creating an iron-on transfer
- Working with found imagery and text
What you’ll get:
- An easy-to-follow lesson on transferring images for embroidery
- 7 HD video lessons you can access online anytime, anywhere
- Itemized supply list
- Step-by-step instruction by expert instructor Rebecca Ringquist
- The ability to leave comments, ask questions and interact with other students


Member Gallery
Browse members' projects from this class and share your own work! Learn how to take great photos here.
Load More
Transcript
Class PDF
Embroidery Transfer Techniques Reviews
772 users recommended this class to a friend

Ranko Yamada
Very clear direct instruction. Was hoping to learn how to use transfer pens that dissolve/disappear with heat. Will check out her sampler classes for that and more embroidery tips.
More than 3 months ago
JENNIFER FOX
Great for learning different transfer techniques, although I didn't see any "free hand" drawing.
More than 3 months ago
Lisa Holroyd
I'm really enjoying Rebecca's classes. Her teaching style is really accessible. I'm so inspired to try out these techniques
More than 3 months ago
Related Classes