CBTV
|
1 hour 4 min
|
01:04:08
|
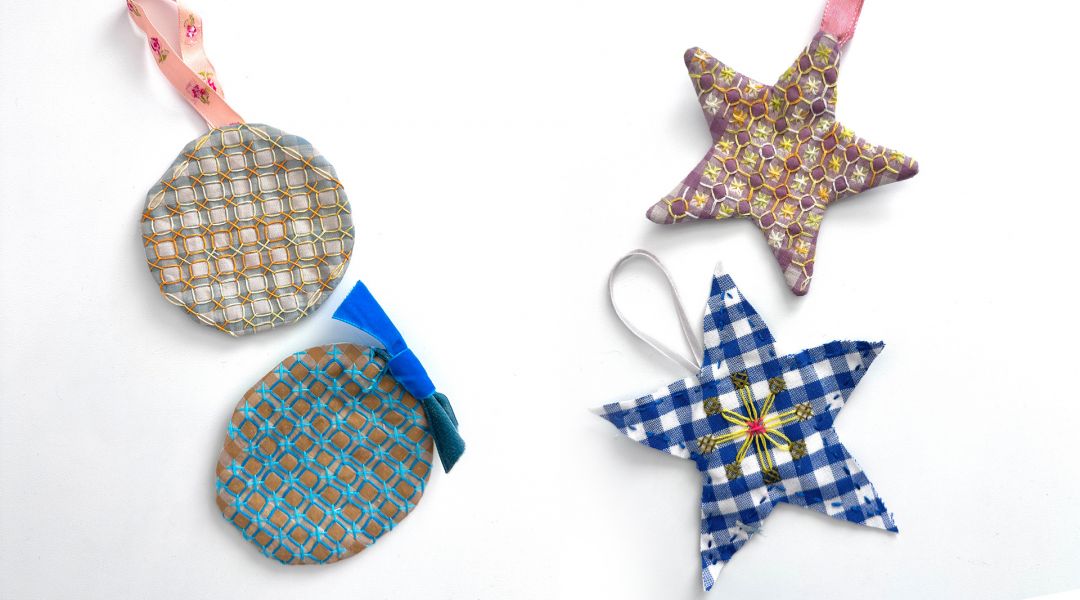
Chicken Scratch embroidery is a vintage needlework technique that uses combinations of basic embroidery stitches on gingham fabric to create intricate patterns that often resemble lace. Join Blair Stocker of Wise Craft Handmade, in collaboration with Creativebug, and we will guide you through stitching the basics of Chicken Scratch embroidery to make a gingham star holiday ornament. Once you learn the basics, the rest is easy! And when you've fallen in love with this mesmerizing technique, head over to Blair's Chicken Scratch Sampler 31 Day Daily Practice class for more patterns, instruction, and inspiration.
Here’s what you’ll need:
- Gingham fabric: For one ornament, you'll need about an 8" piece of gingham. It's important that the individual squares of gingham measure 1/4" as the grid-like pattern of gingham serves as a guide for the stitches ((this is a very standard size of gingham)
- Embroidery thread: Two or three colors of six strand embroidery floss
- Embroidery needle: A size 3-5 embroidery needle or any that will work with three strands of embroidery floss
- 6" embroidery hoop
- Scissors
- Fabric marking pen
- The star template in the printable pattern
- A sewing machine to finish the ornament or a hand sewing needle and coordinating thread
- 8-10" length of yarn or ribbon for hanging
Downloads:


Member Gallery
Browse members' projects from this class and share your own work! Learn how to take great photos here.
Load More
Transcript
Class PDF
Crafting Together: Chicken Scratch Ornaments with Blair Stocker Reviews
22 users recommended this class to a friend
Caroline Paniccia
What beautiful ornaments. I'm in a heart swap and I will probably use this technique to make hanging hearts for my Swapsters. Thank you Faith and Blair, this was a great class. #chickenscratch
More than 3 months ago
Babs Doschi
Oh this is fun. I loved the relaxed presentation and my friends and family will really love getting these for gifts. I am super pumped and thanks so very much.
More than 3 months ago


